

This is a long-promised post about my method of dyeing with the gorgeous Hopi Red Dye Amaranth plant. I have another post with more details about growing this plant over here. I’ve grown this amaranth for several years now, and it is a consistent and hardy plant in my garden. Fair warning though, it DOES self seed prolifically if allowed to set seed heads. Since my garden is a part perennial food garden I don’t mind this aspect, especially since the seedlings are very easy to identify and pull if they are growing in a less desirable area.
HISTORY – Amaranth is native to the Americas and was domesticated around 4,000 BC likely in central Mexico. It was extremely meaningful and important to the Aztecs where it was known as the food of the gods, leaves and seeds being used both as food and for ceremonial purposes honoring Xiuhtecuhtli, the fire god. The Hopi Native Americans call the plant Komo and use it to make pink piki (a thin wafer-type bread) that is associated with the katsinas, the benevolent beings who dwell in the mountains, springs and lakes, and who are the bringers of blessings, particularly rain, crops, and well-being. All parts of the plant are edible. For more information about the history and importance of Hopi Red Dye Amaranth this site has some resources.
DYE PROCESS – I’ve had good luck with Hopi Red Amaranth as a dye plant, but there are a few important caveats:
1. I haven’t been able to get a good color on cellulose fiber (ie cotton). Protein fibers only (wool, silk, alpaca etc).
2. This dye is not the most light-fast in the world. Yarn I have dyed and kept in controlled conditions (dim light) is still very bright and vibrant after 4 years, but a light test in a South facing window faded the color to a light pinkish-tan over the course of 6 months. The pigment I think the color is so magical that this is a trade-off I’ll take, but it is important to know so you can pick your projects for this dye with care.
3. I have not wash testing this dye extensively.
That being understood, here we go!!
Materials needed: A few 5 gallon buckets, 1 gallon of white vinegar, Hopi Red Dye Amaranth, scoured but unmordanted protein fiber
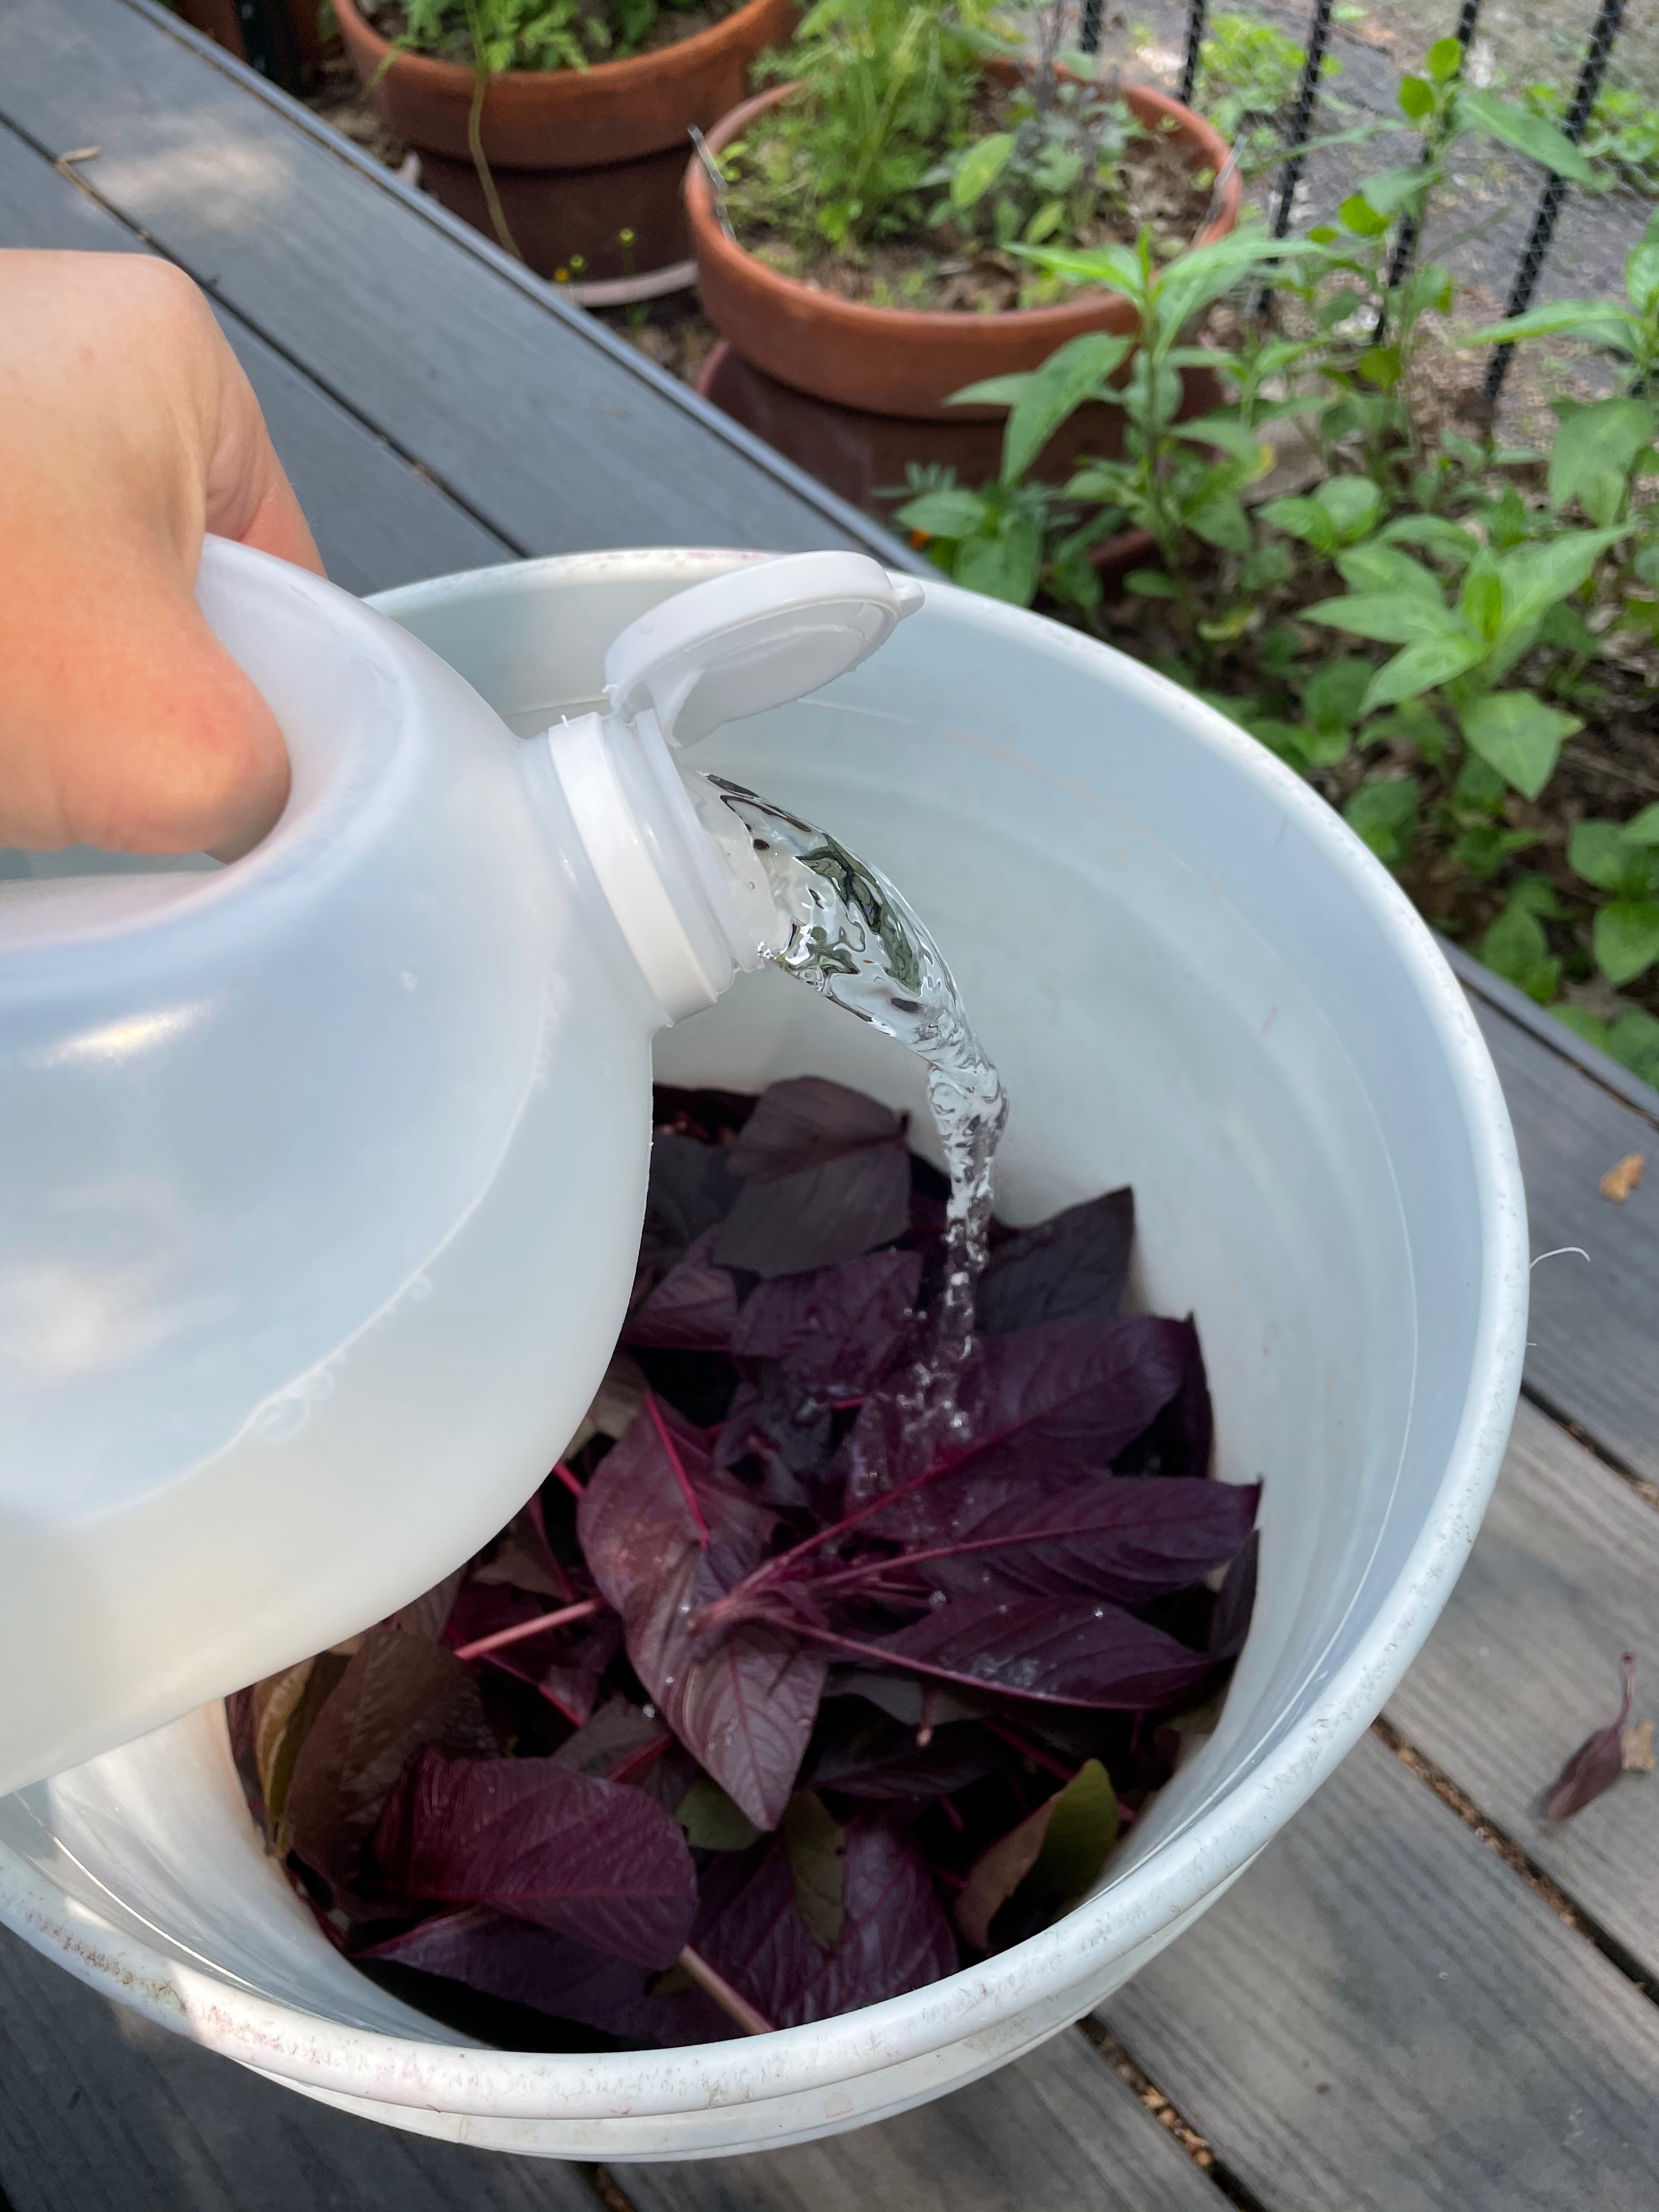
–First, pick your dye plant! All parts of the plant that have a red coloration will add to the dye, but especially good are the flower heads. Absolutely peak color will be given when the flowers are openings but before they have set seeds. I confess that I don’t usually weigh this plant material, but simply do a rough chop of the plant tops and seed heads and stuff them into a 5 gallon bucket – about 1/2 full.


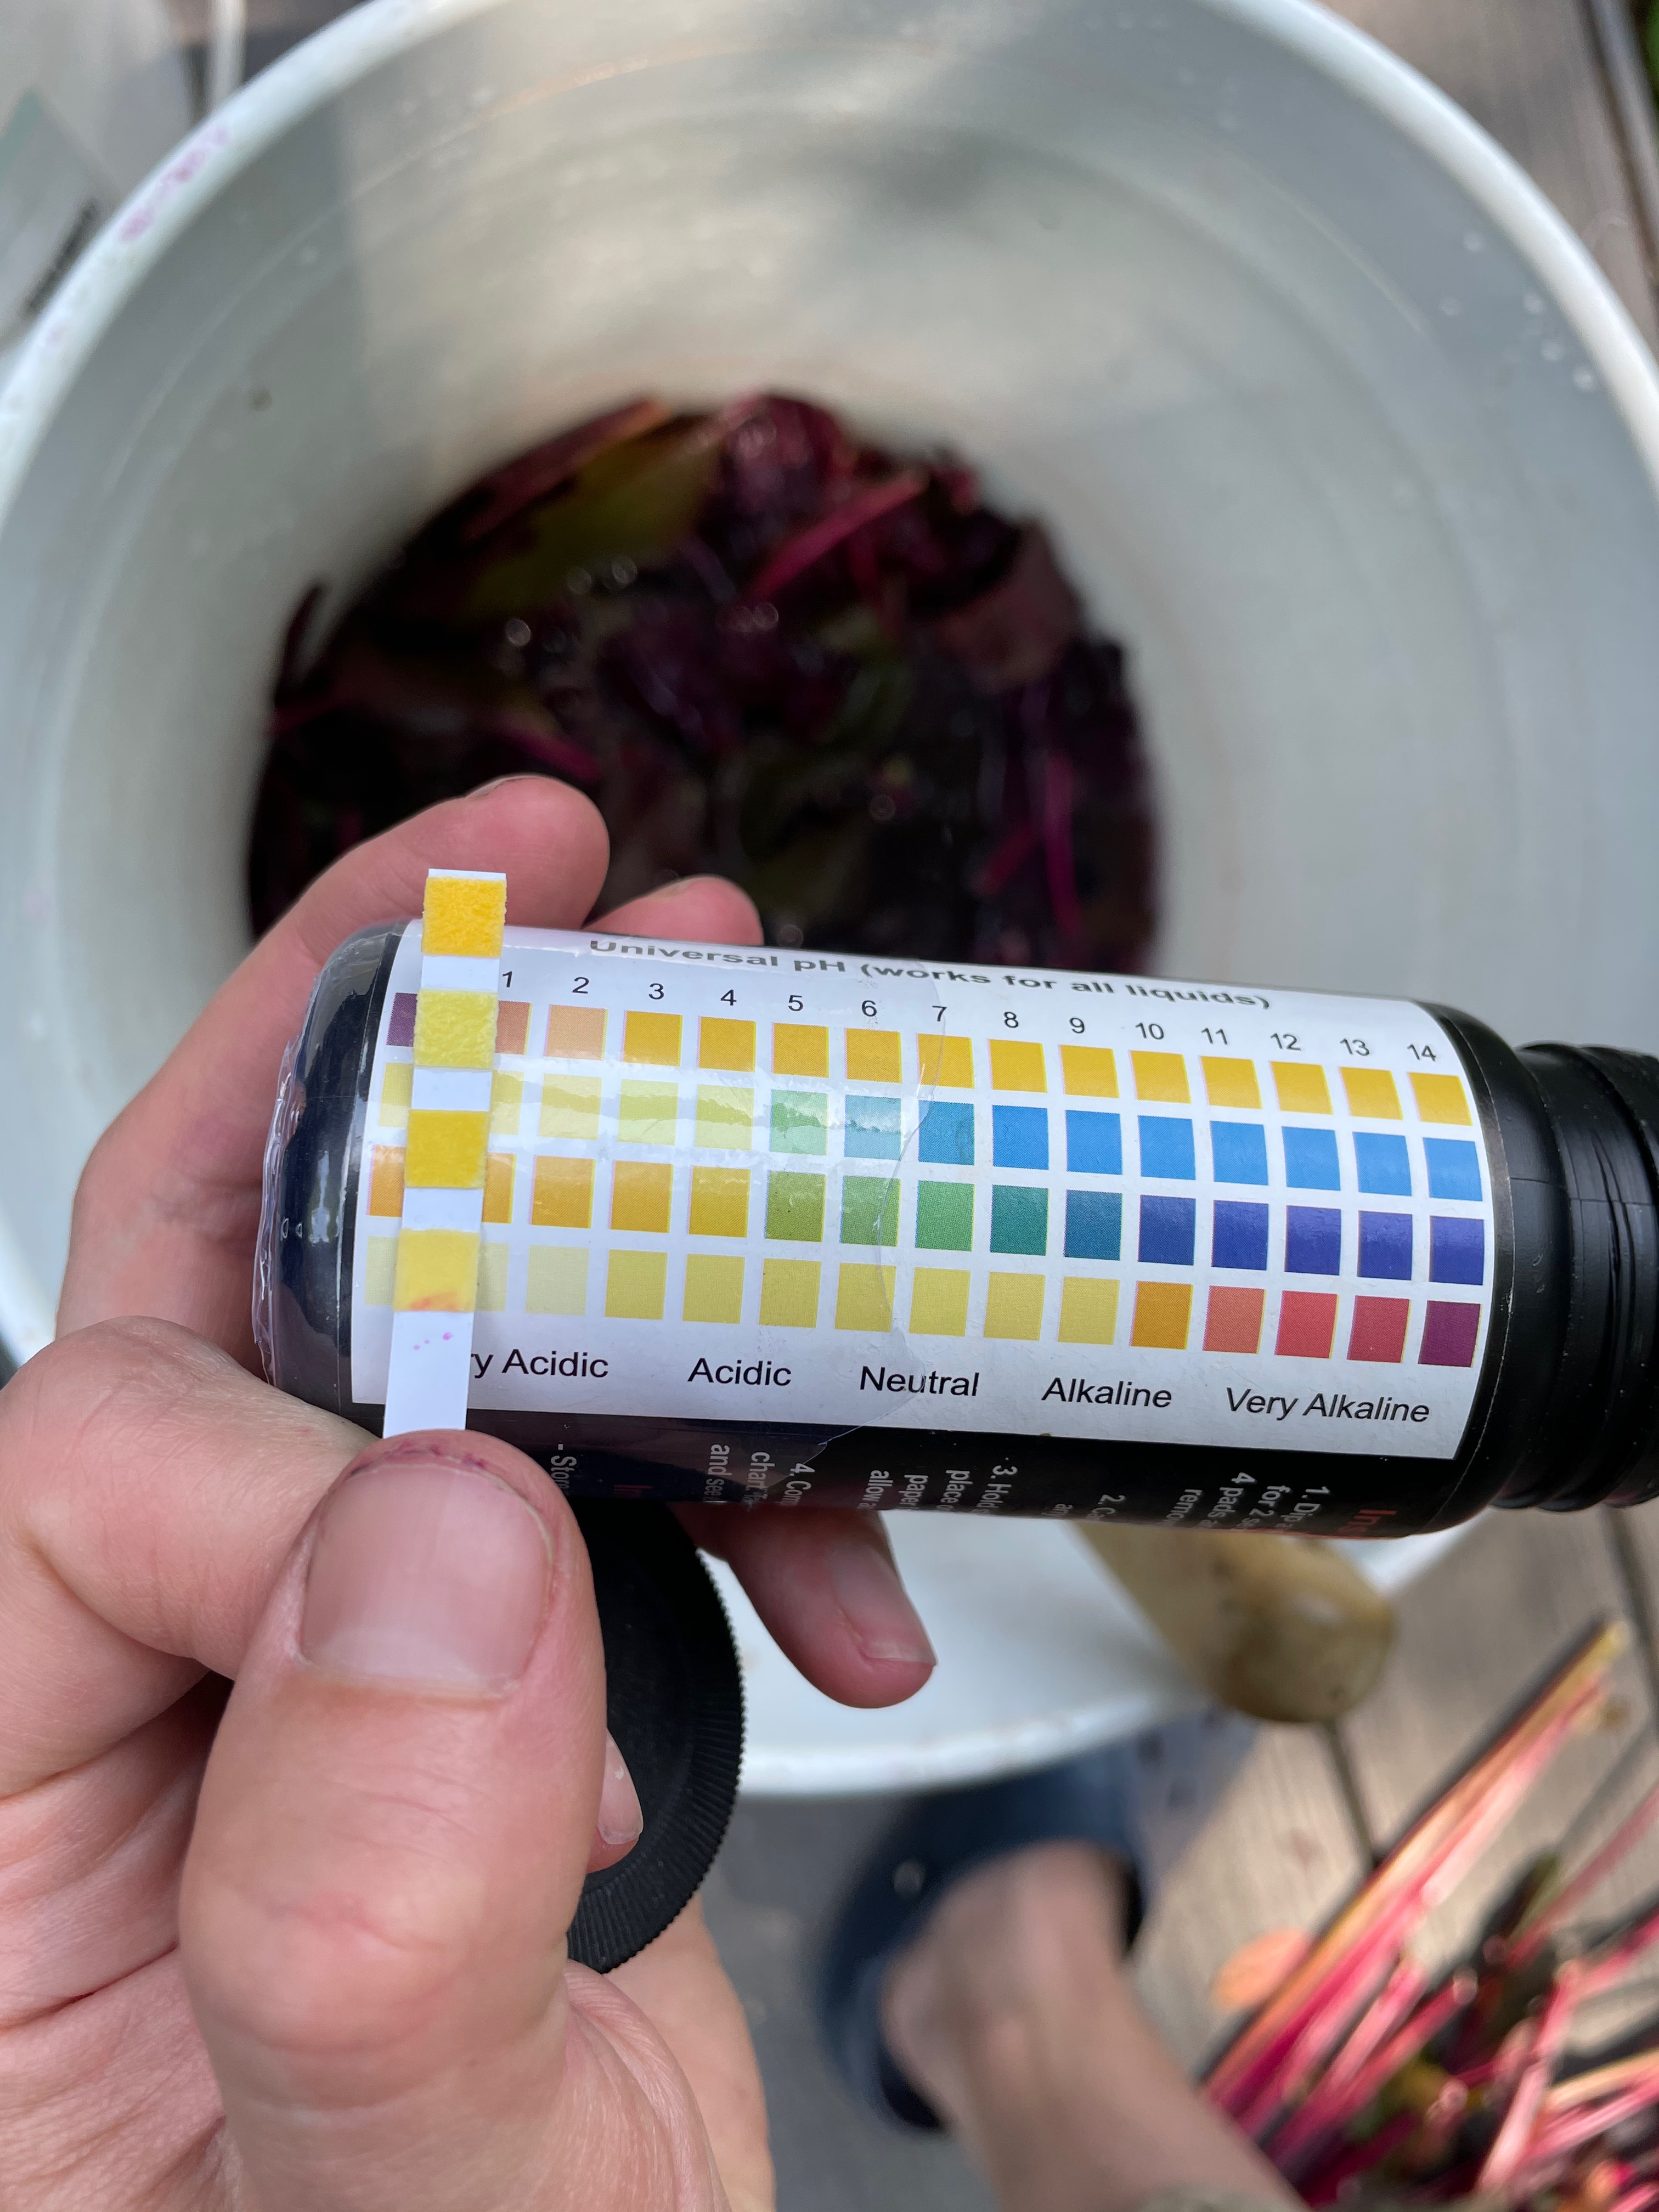
–Add your liquid! This is where the process begins to differ from most dyeing. It is important to use an acid liquid for color extraction, ideally around a pH of 3. How I accomplish this is good old white vinegar – about a gallon for my 1/2 bucket of plant material, then a little water to cover the plants… but make sure not to add too much because you want to keep that pH around 3!
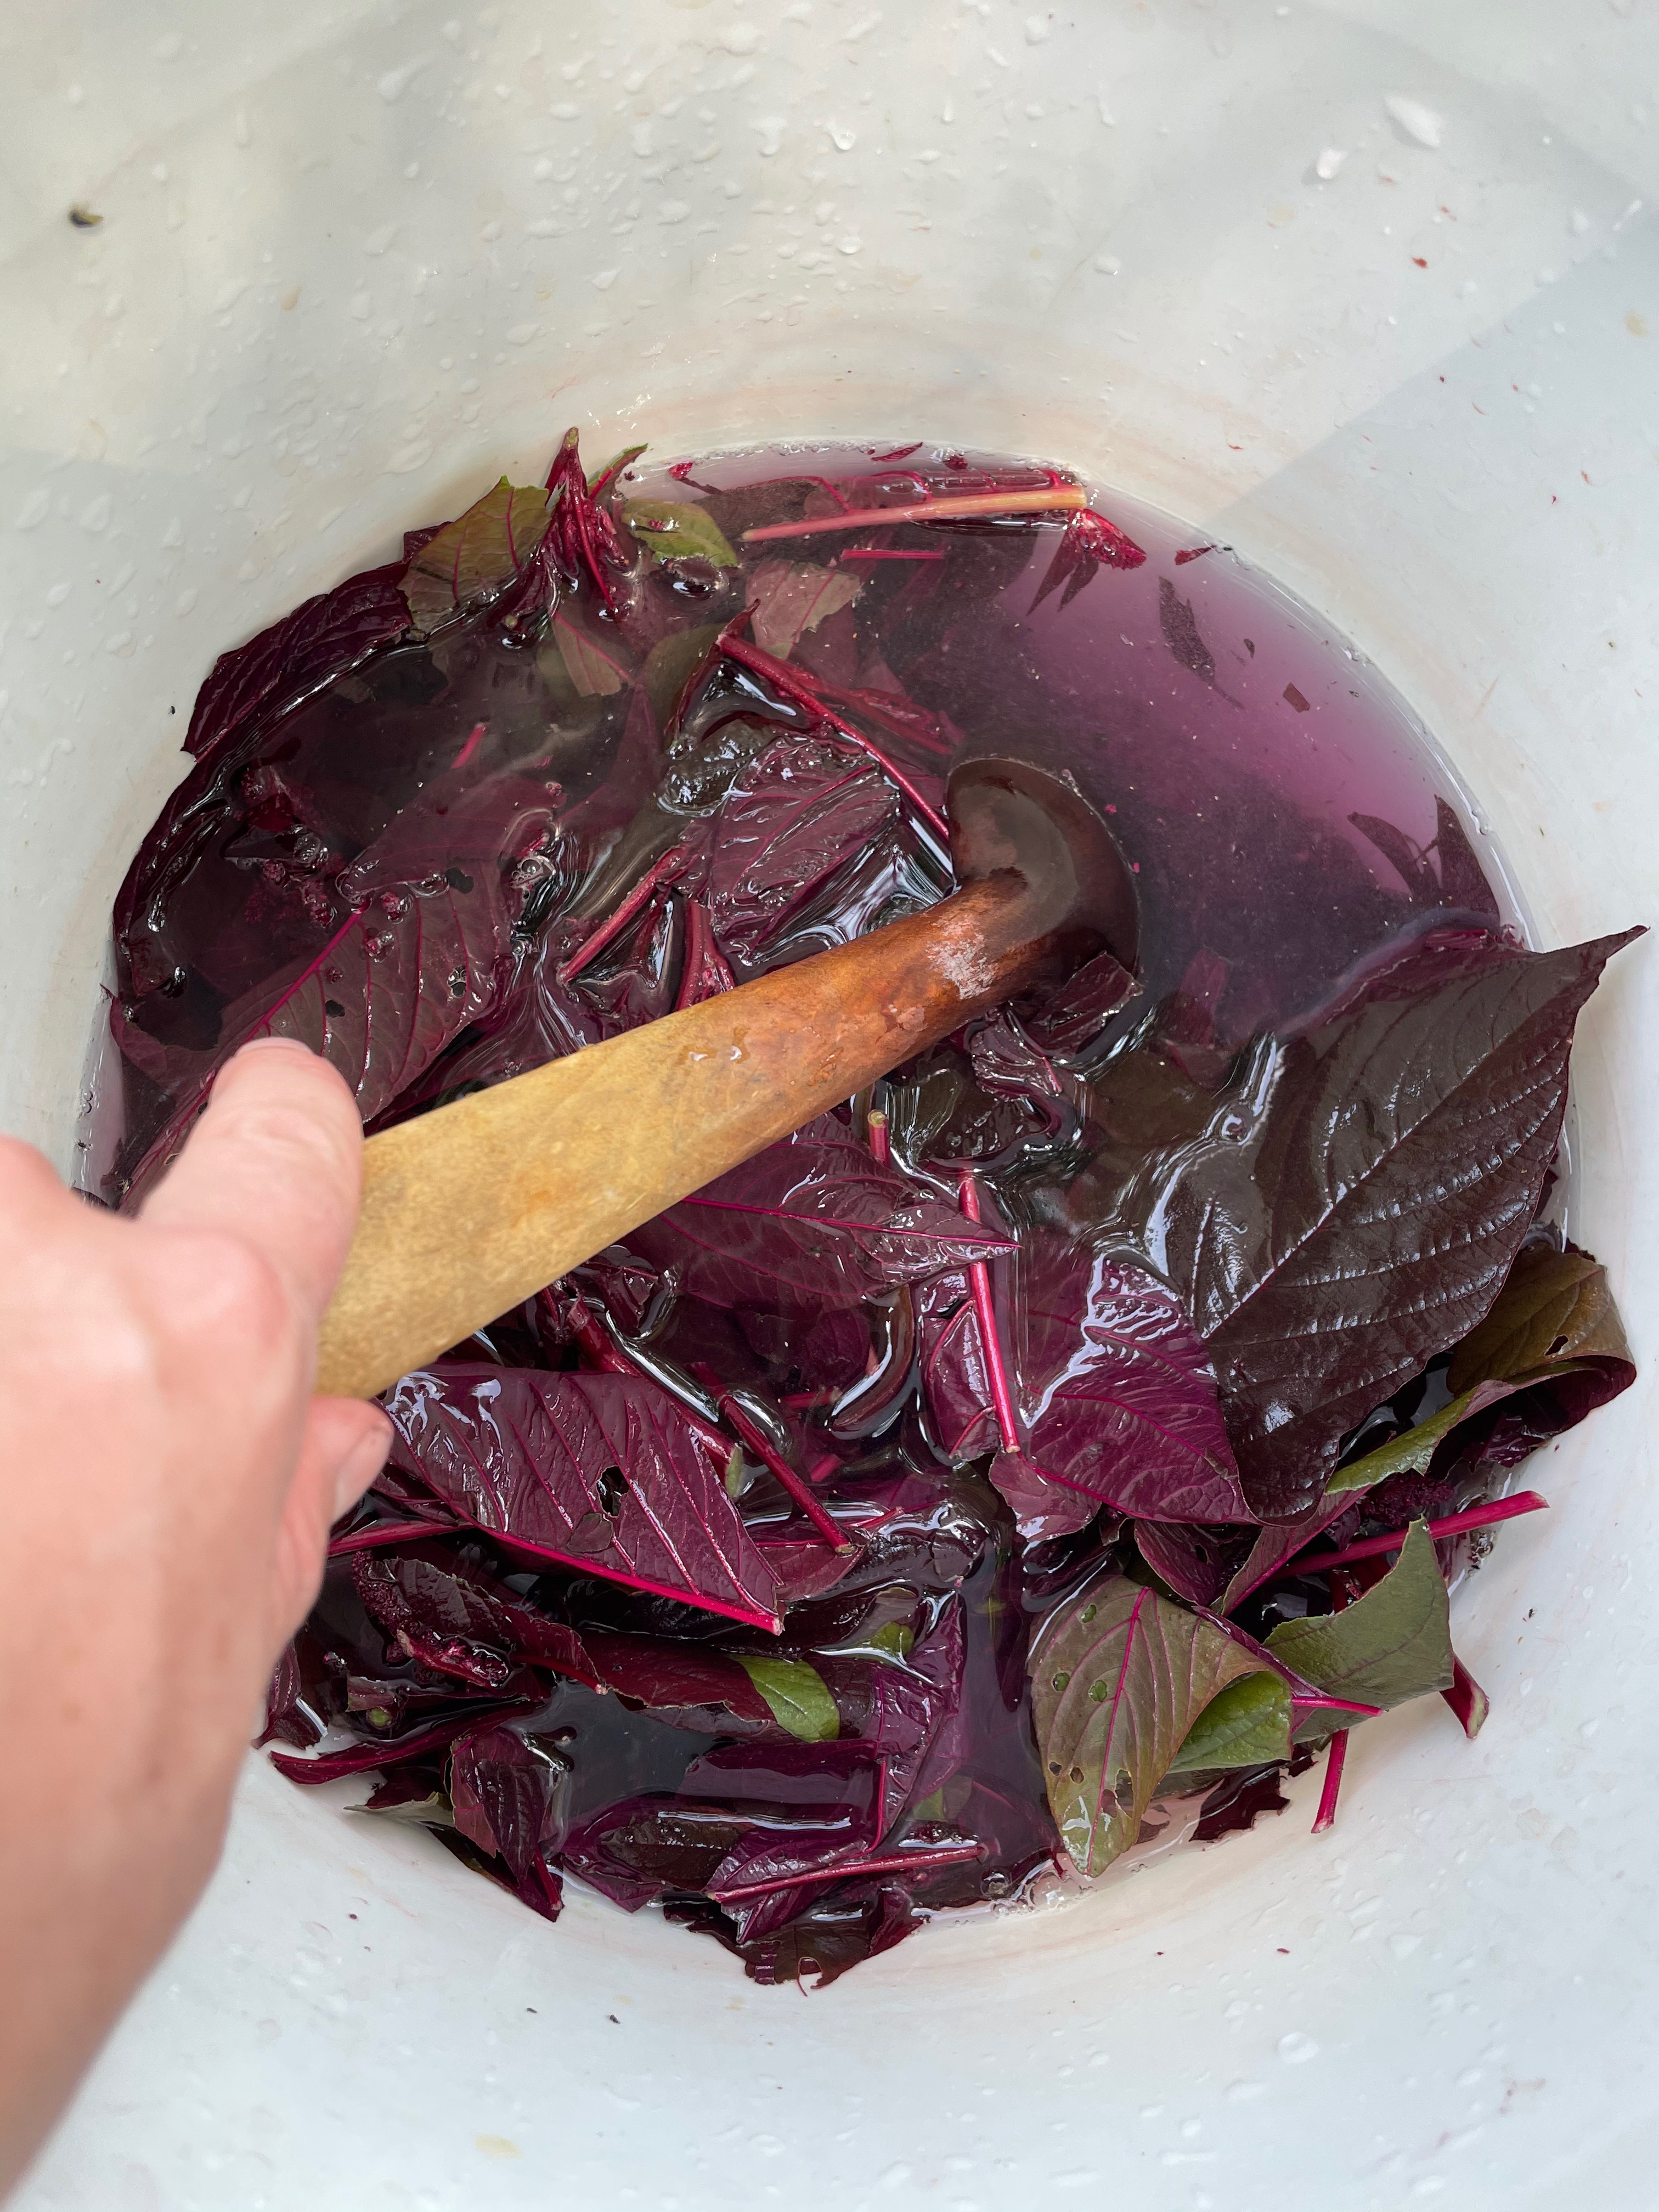
–Leave the bucket alone for 24 hours. Put it somewhere cool and dark – no heat needed!
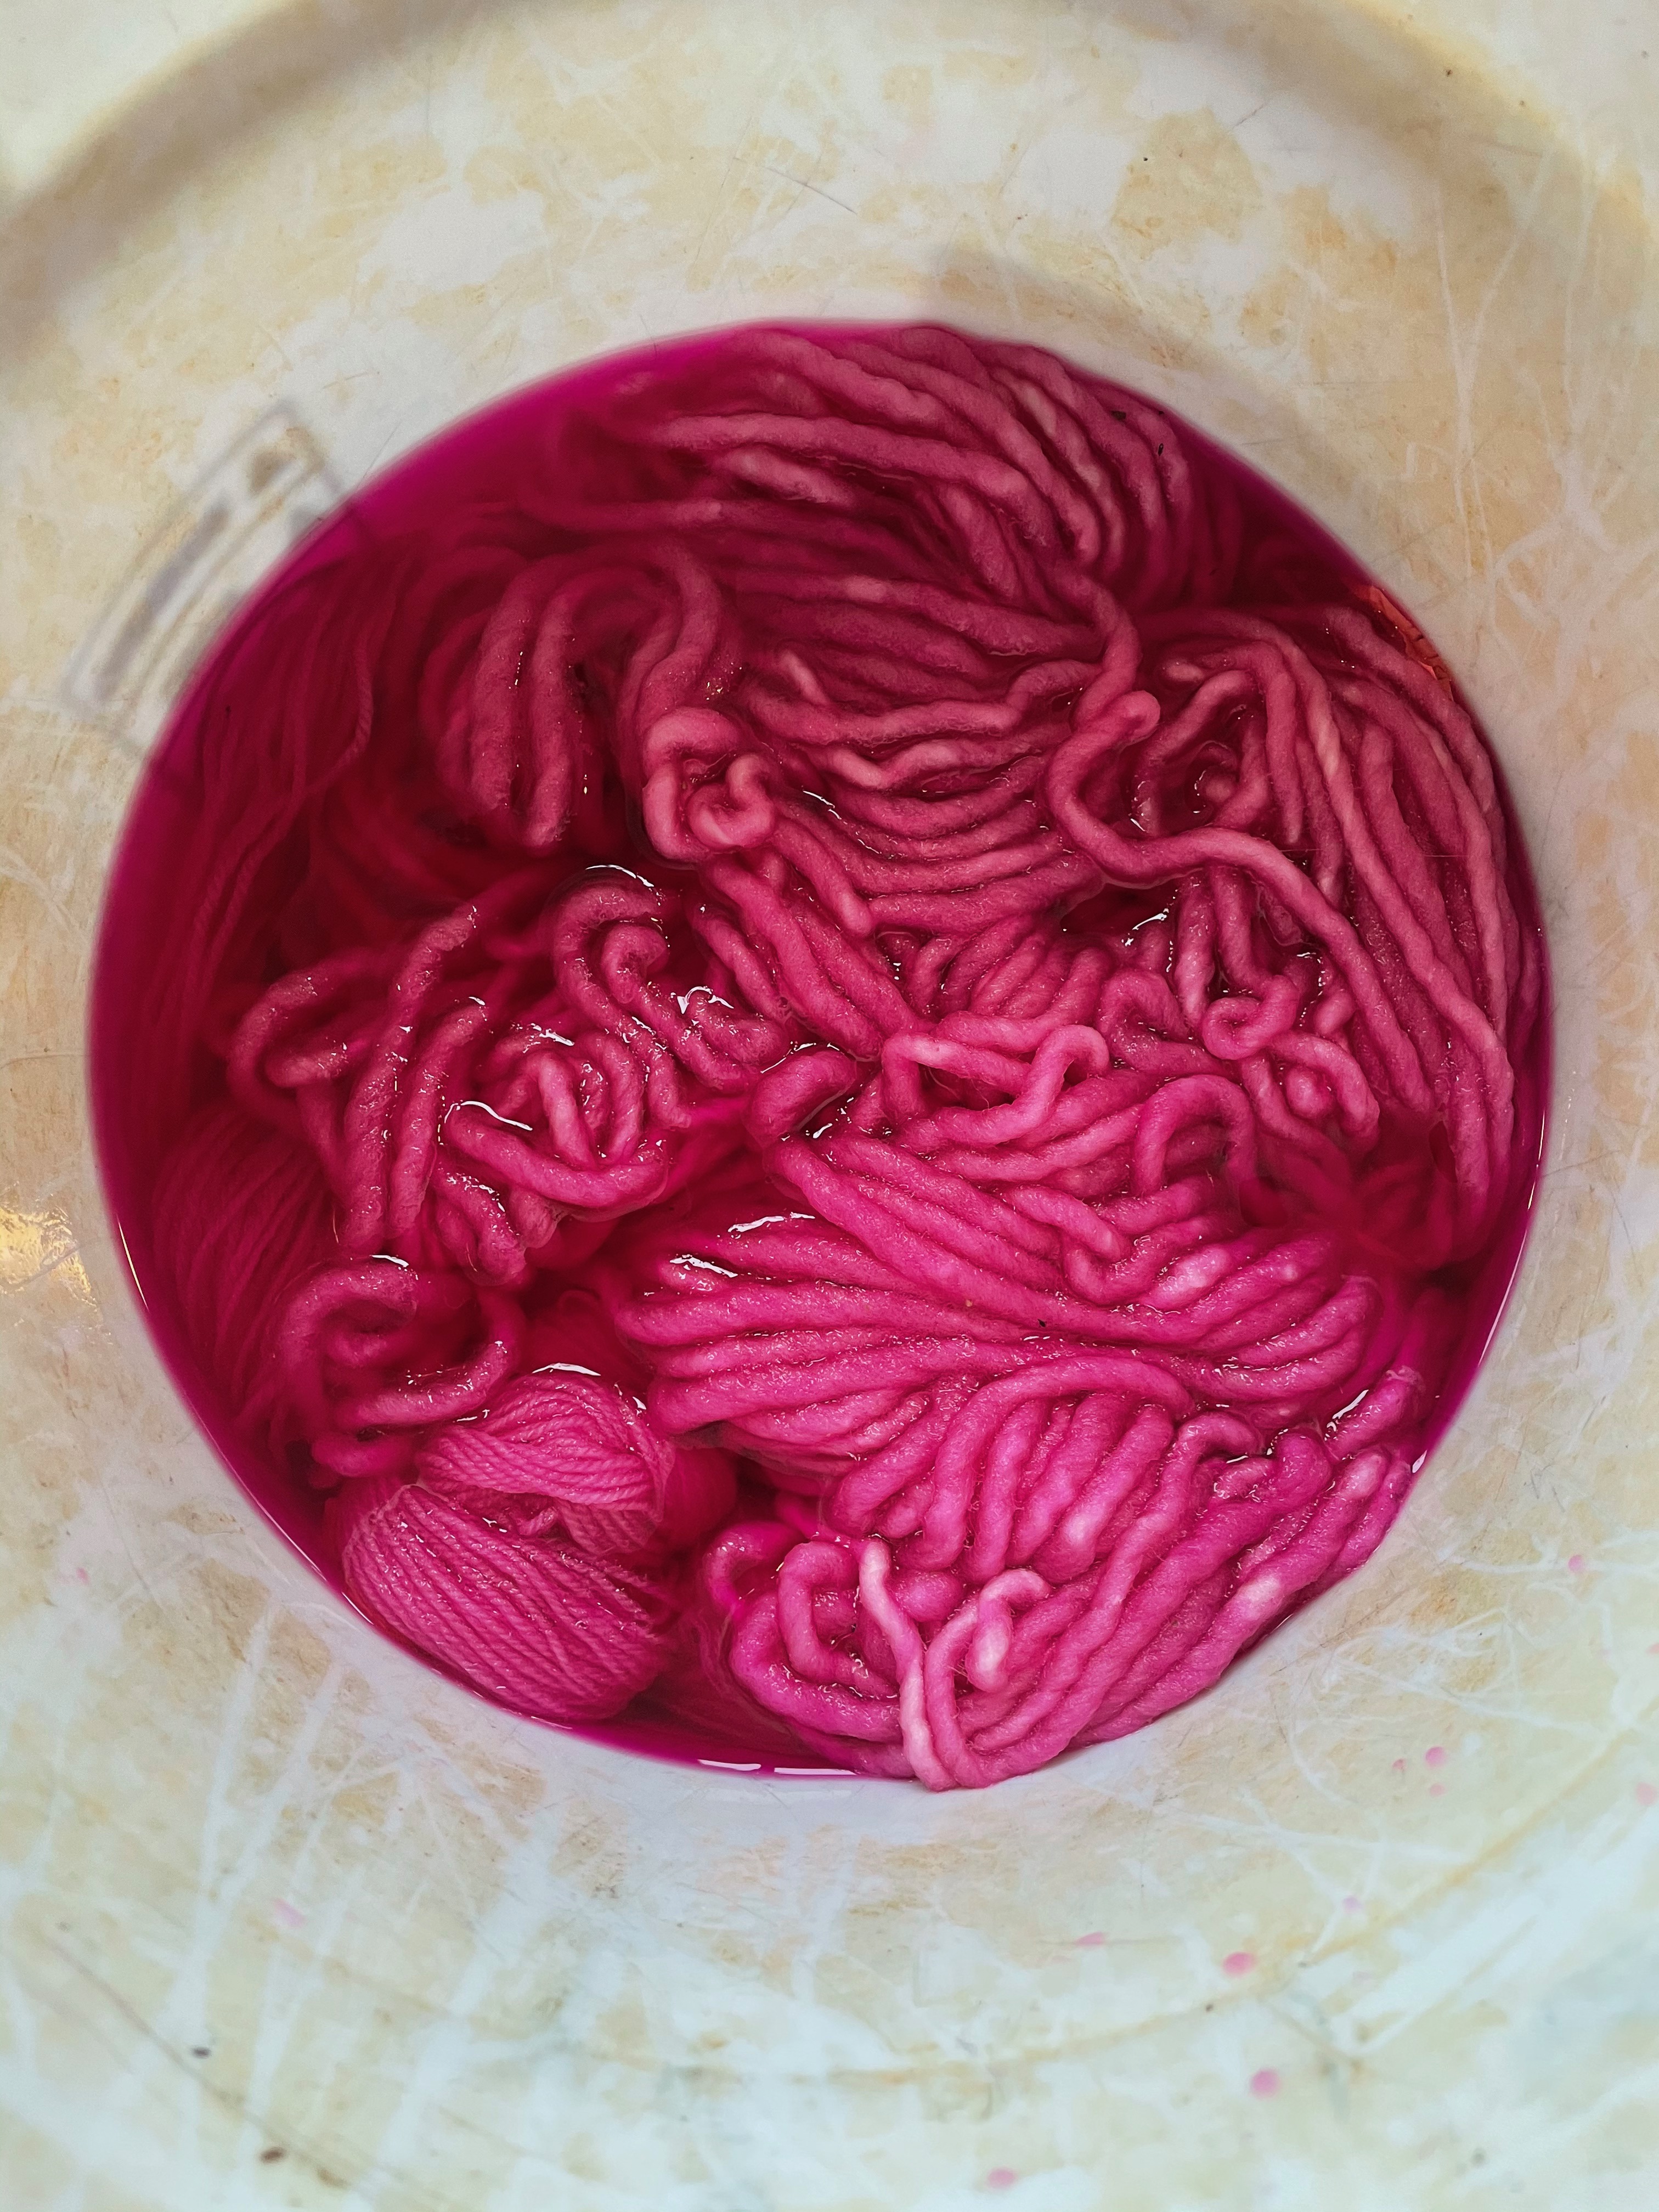
–Strain the liquid and add yarn! When you come back after a day you should see that the liquid has taken on a vibrant pink and the plant material is more green/tan. Use a fine-mesh seive or old pillow case or cloth to strain out the plant material, reserving the liquid. Add your wetted fiber – I do not use mordant for this dye!! I pretty much fill the 1/2 of the bucket with fiber… I bet my plant material to fiber ratio ends up being about 1:1.
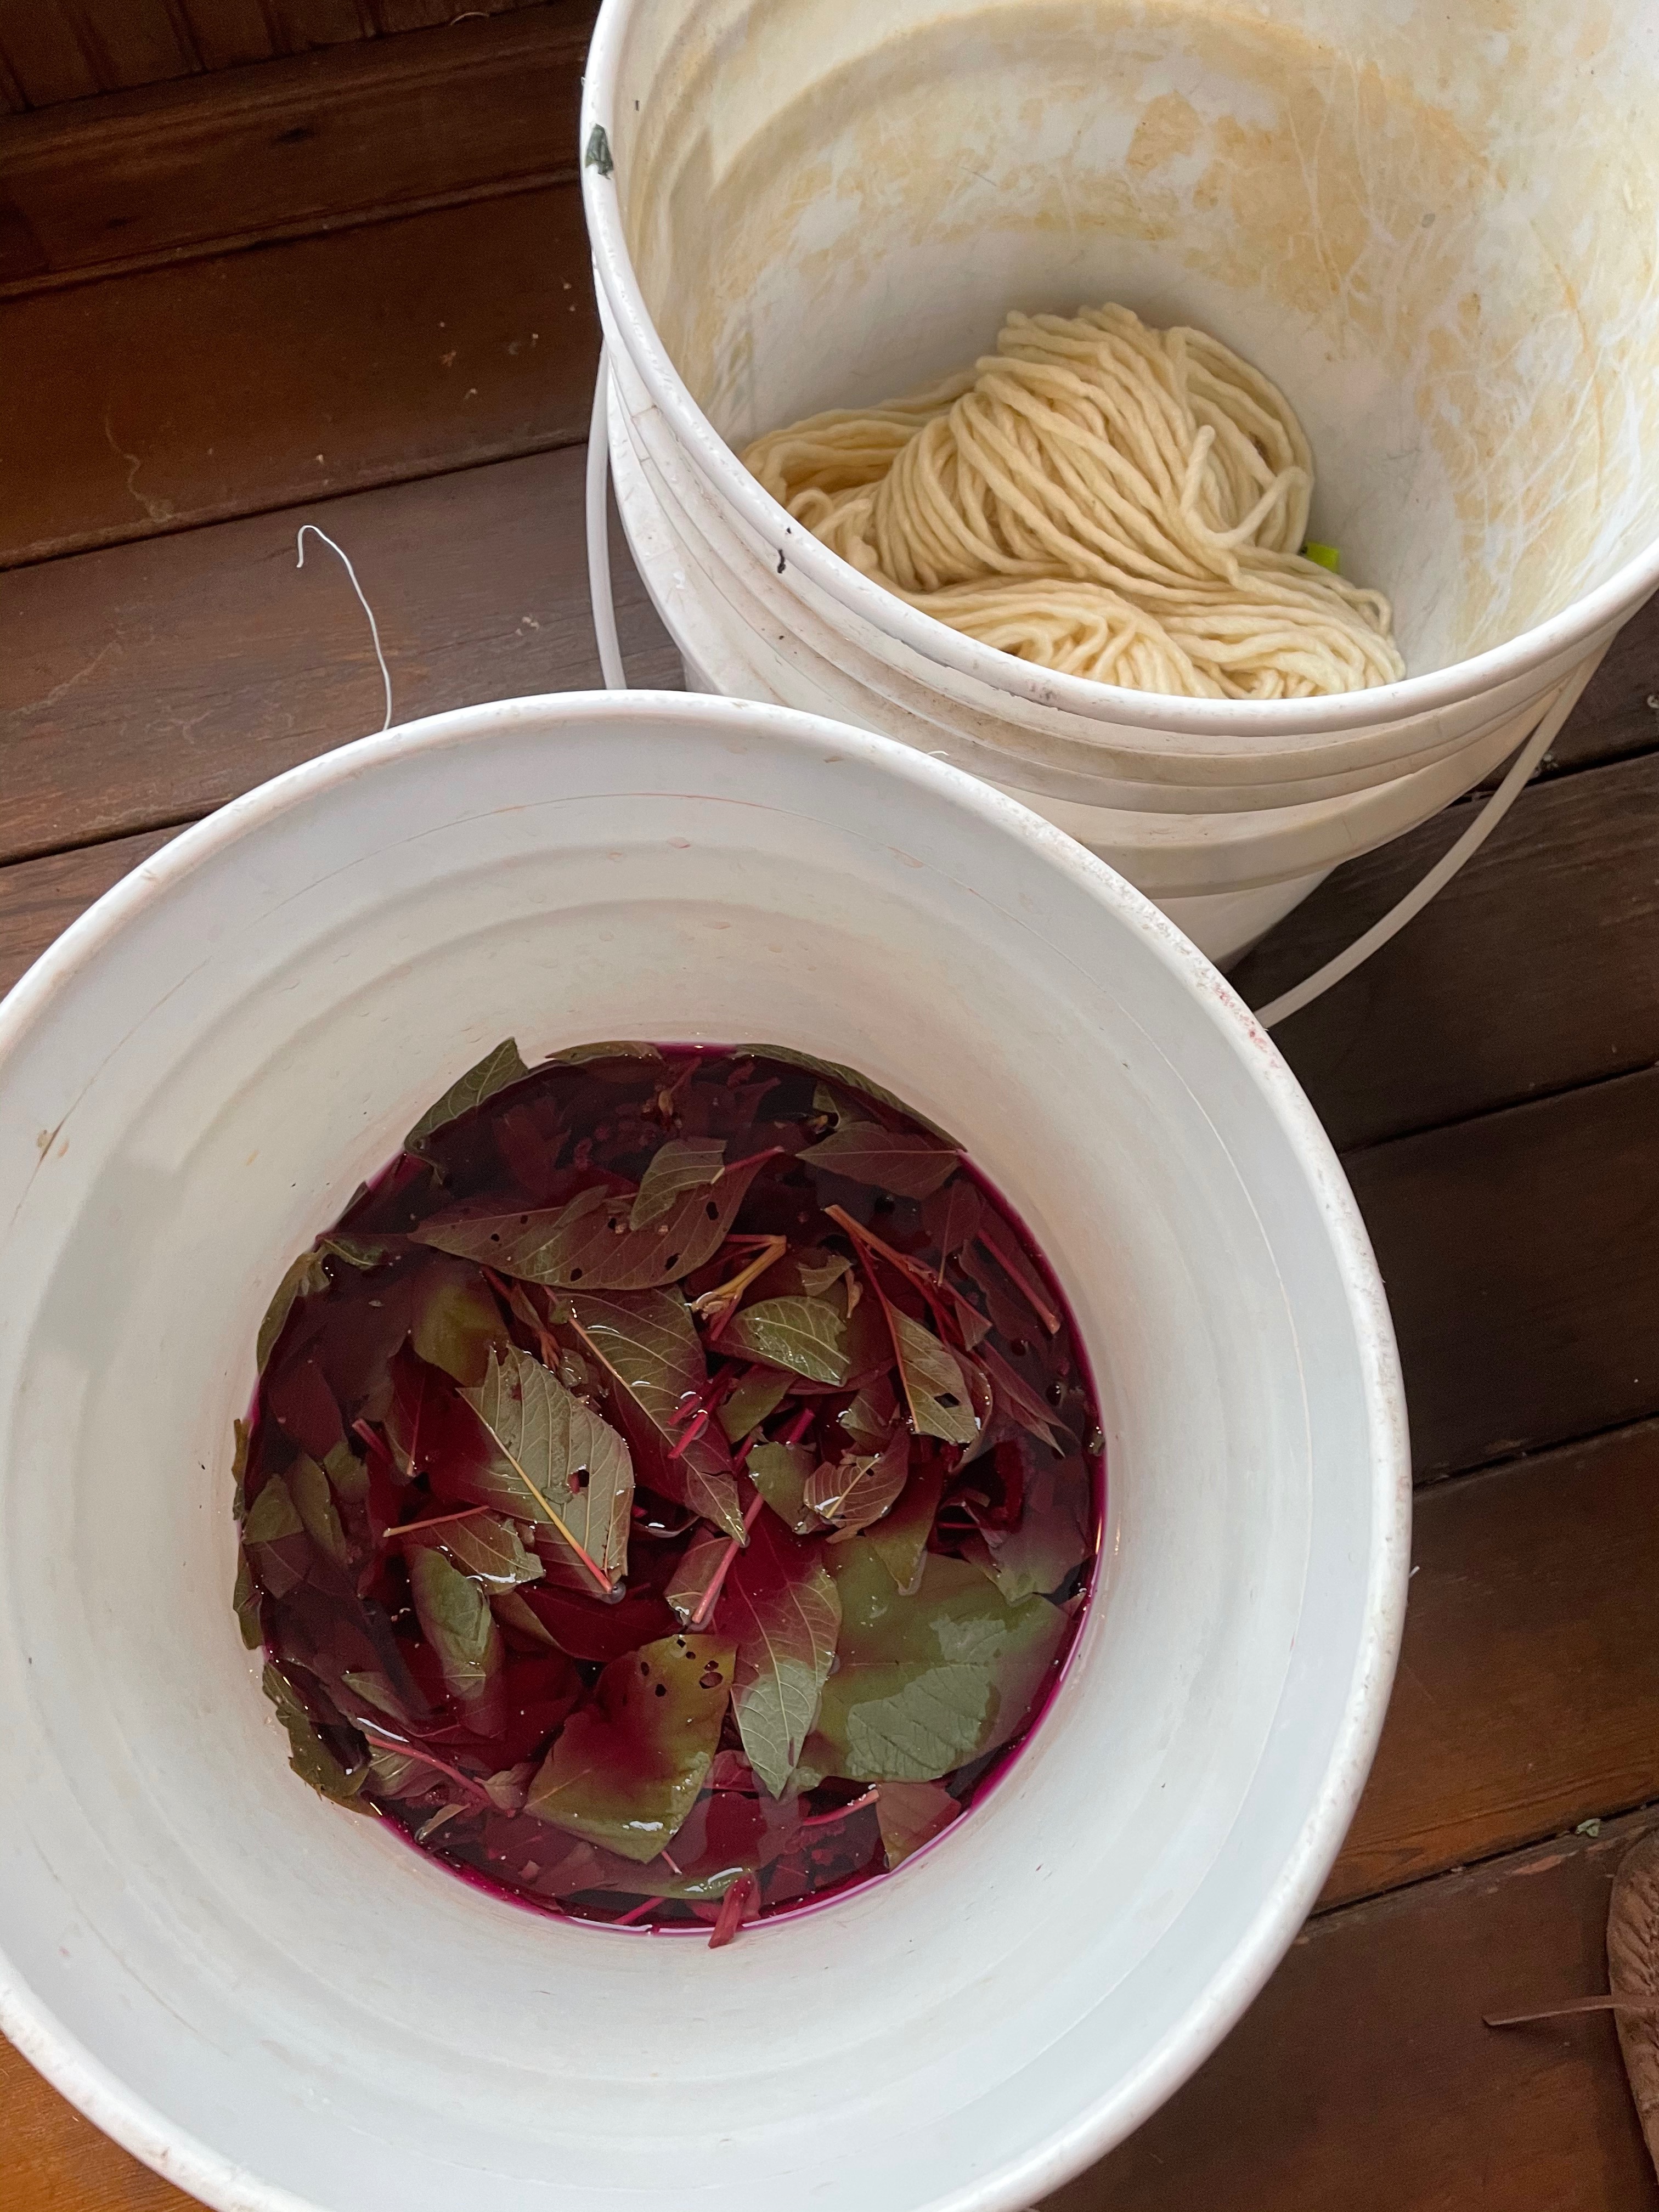
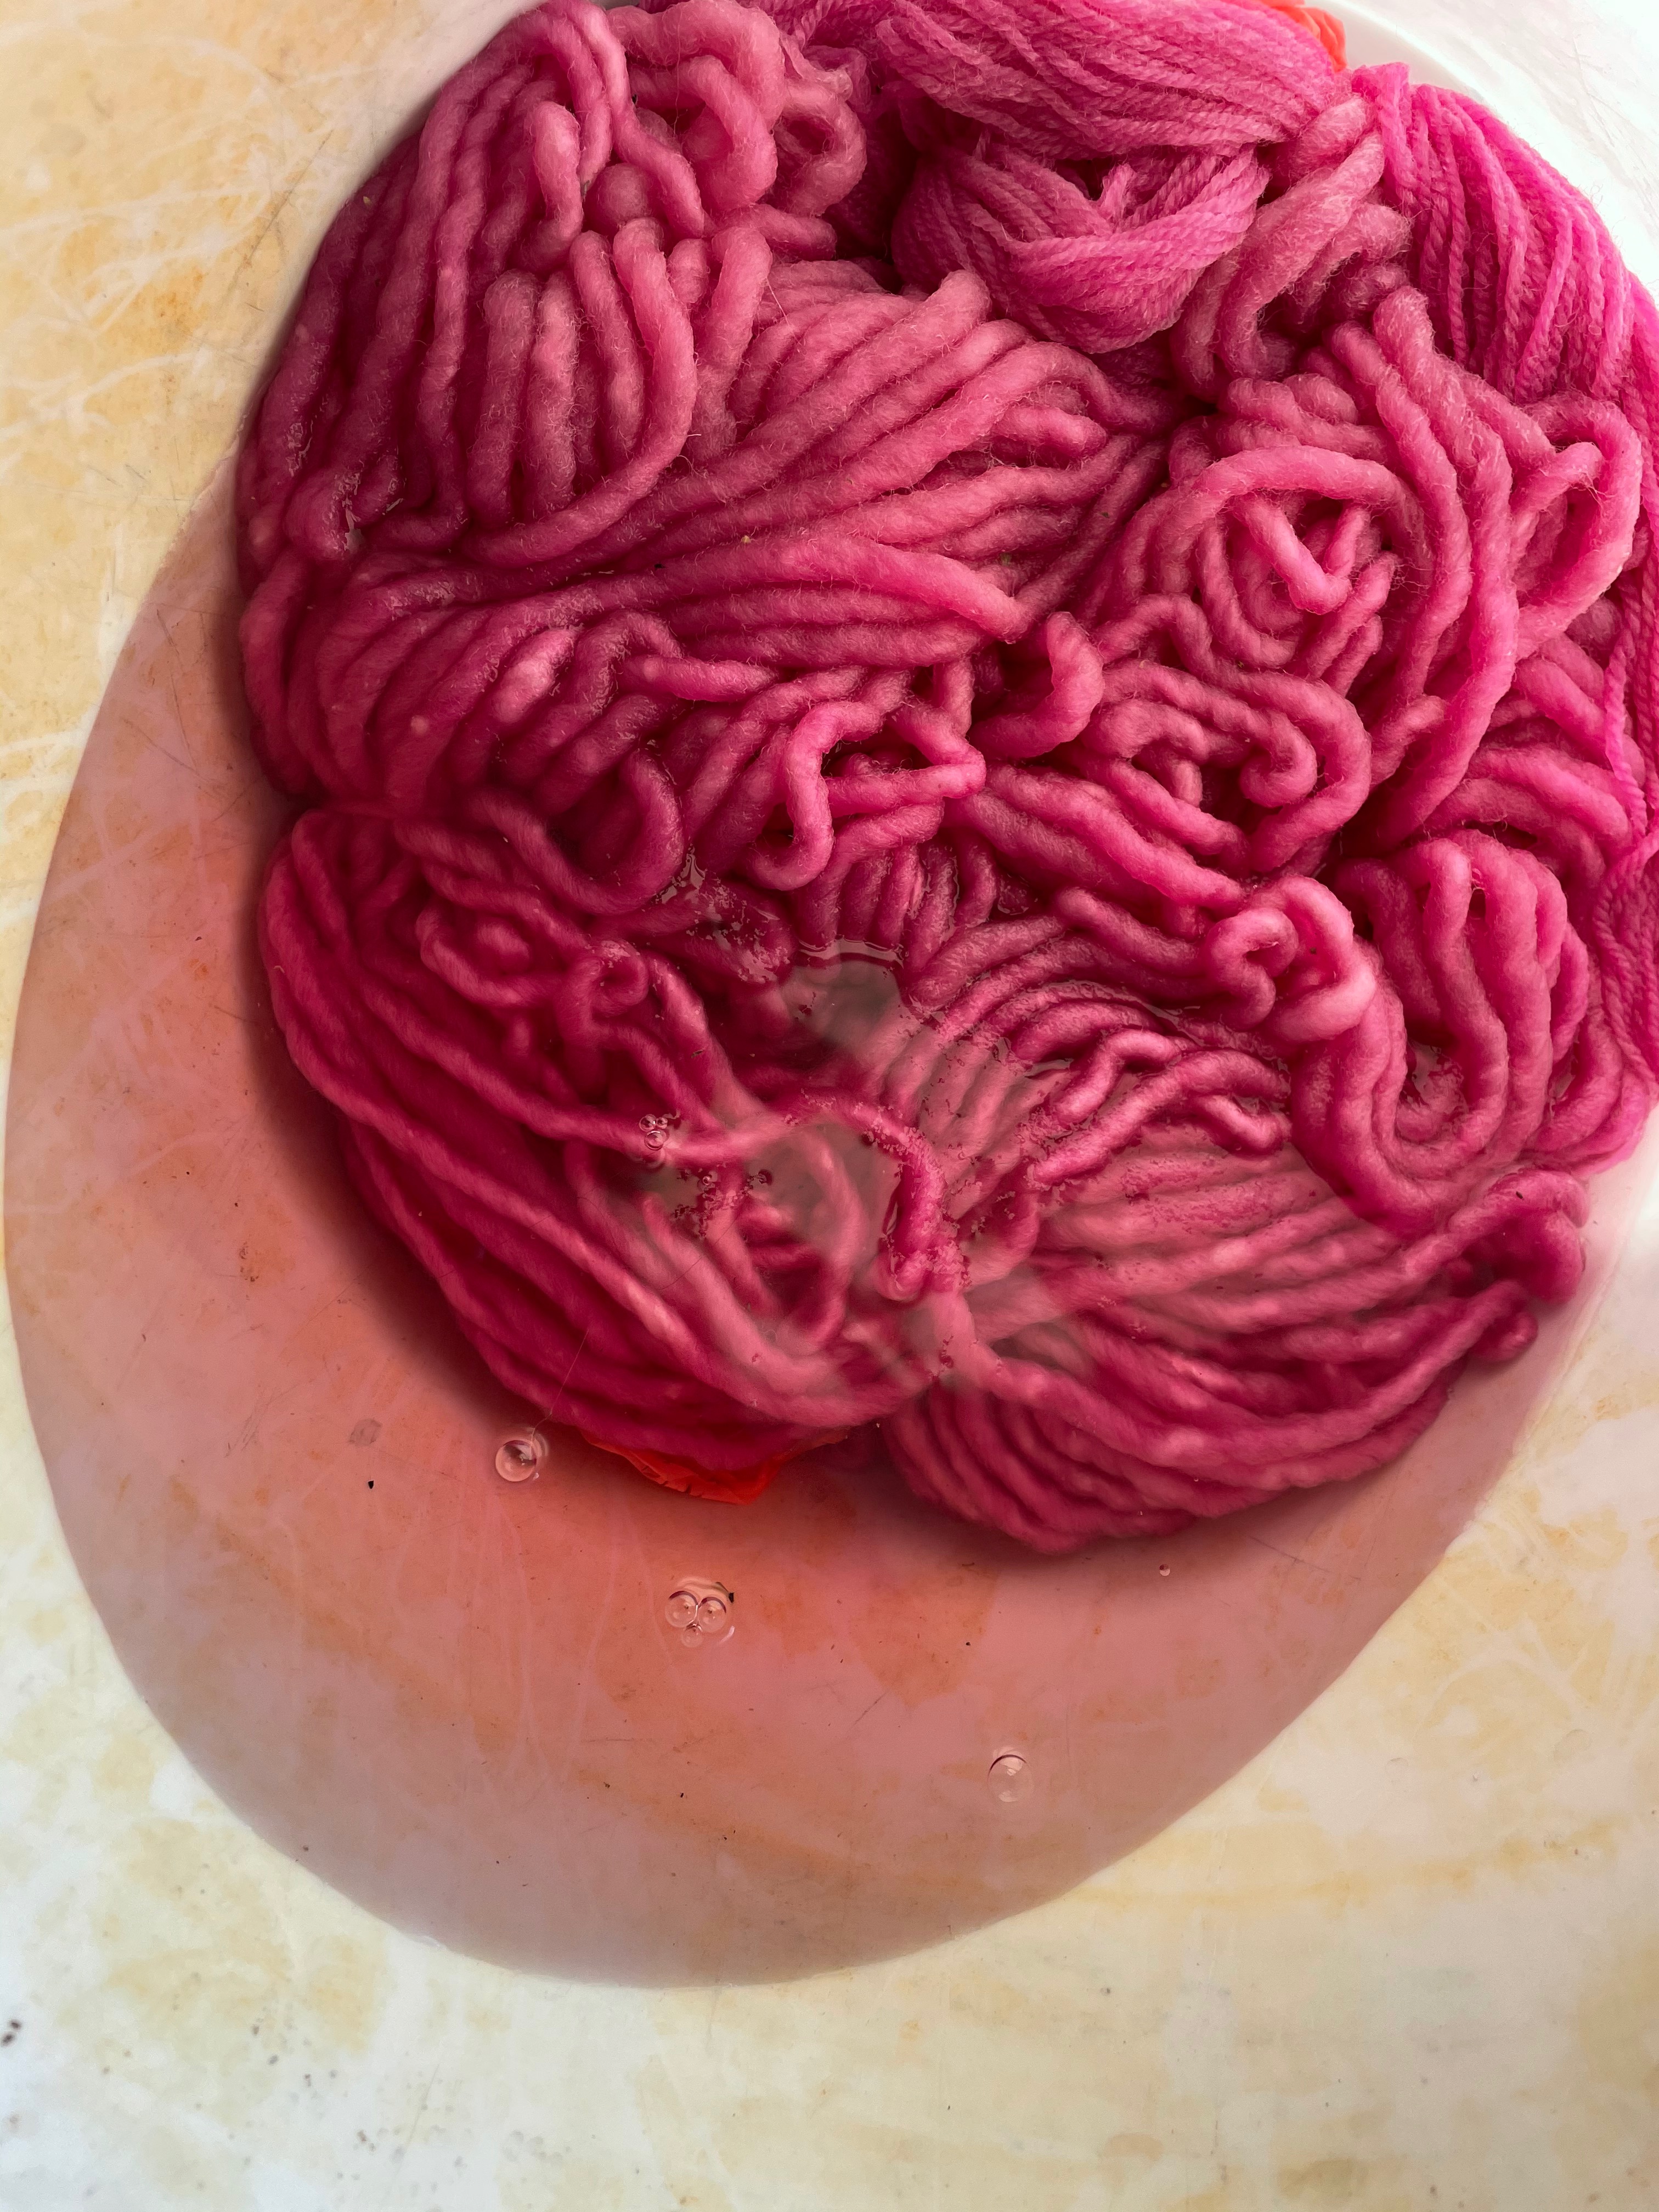
–Allow the fiber to steep in the pink liquid for another 24 hours. Again, keep it somewhere sheltered and dark – no heat needed!! After 24 hours you should see that the color has moved to the yarn and the liquid in the bucket will be almost clear. Rinse the yarn with water (I use the soft water in my rain barrels) and a no-rinse wash such as Eucalan, then hang somewhere out of the sun to dry.
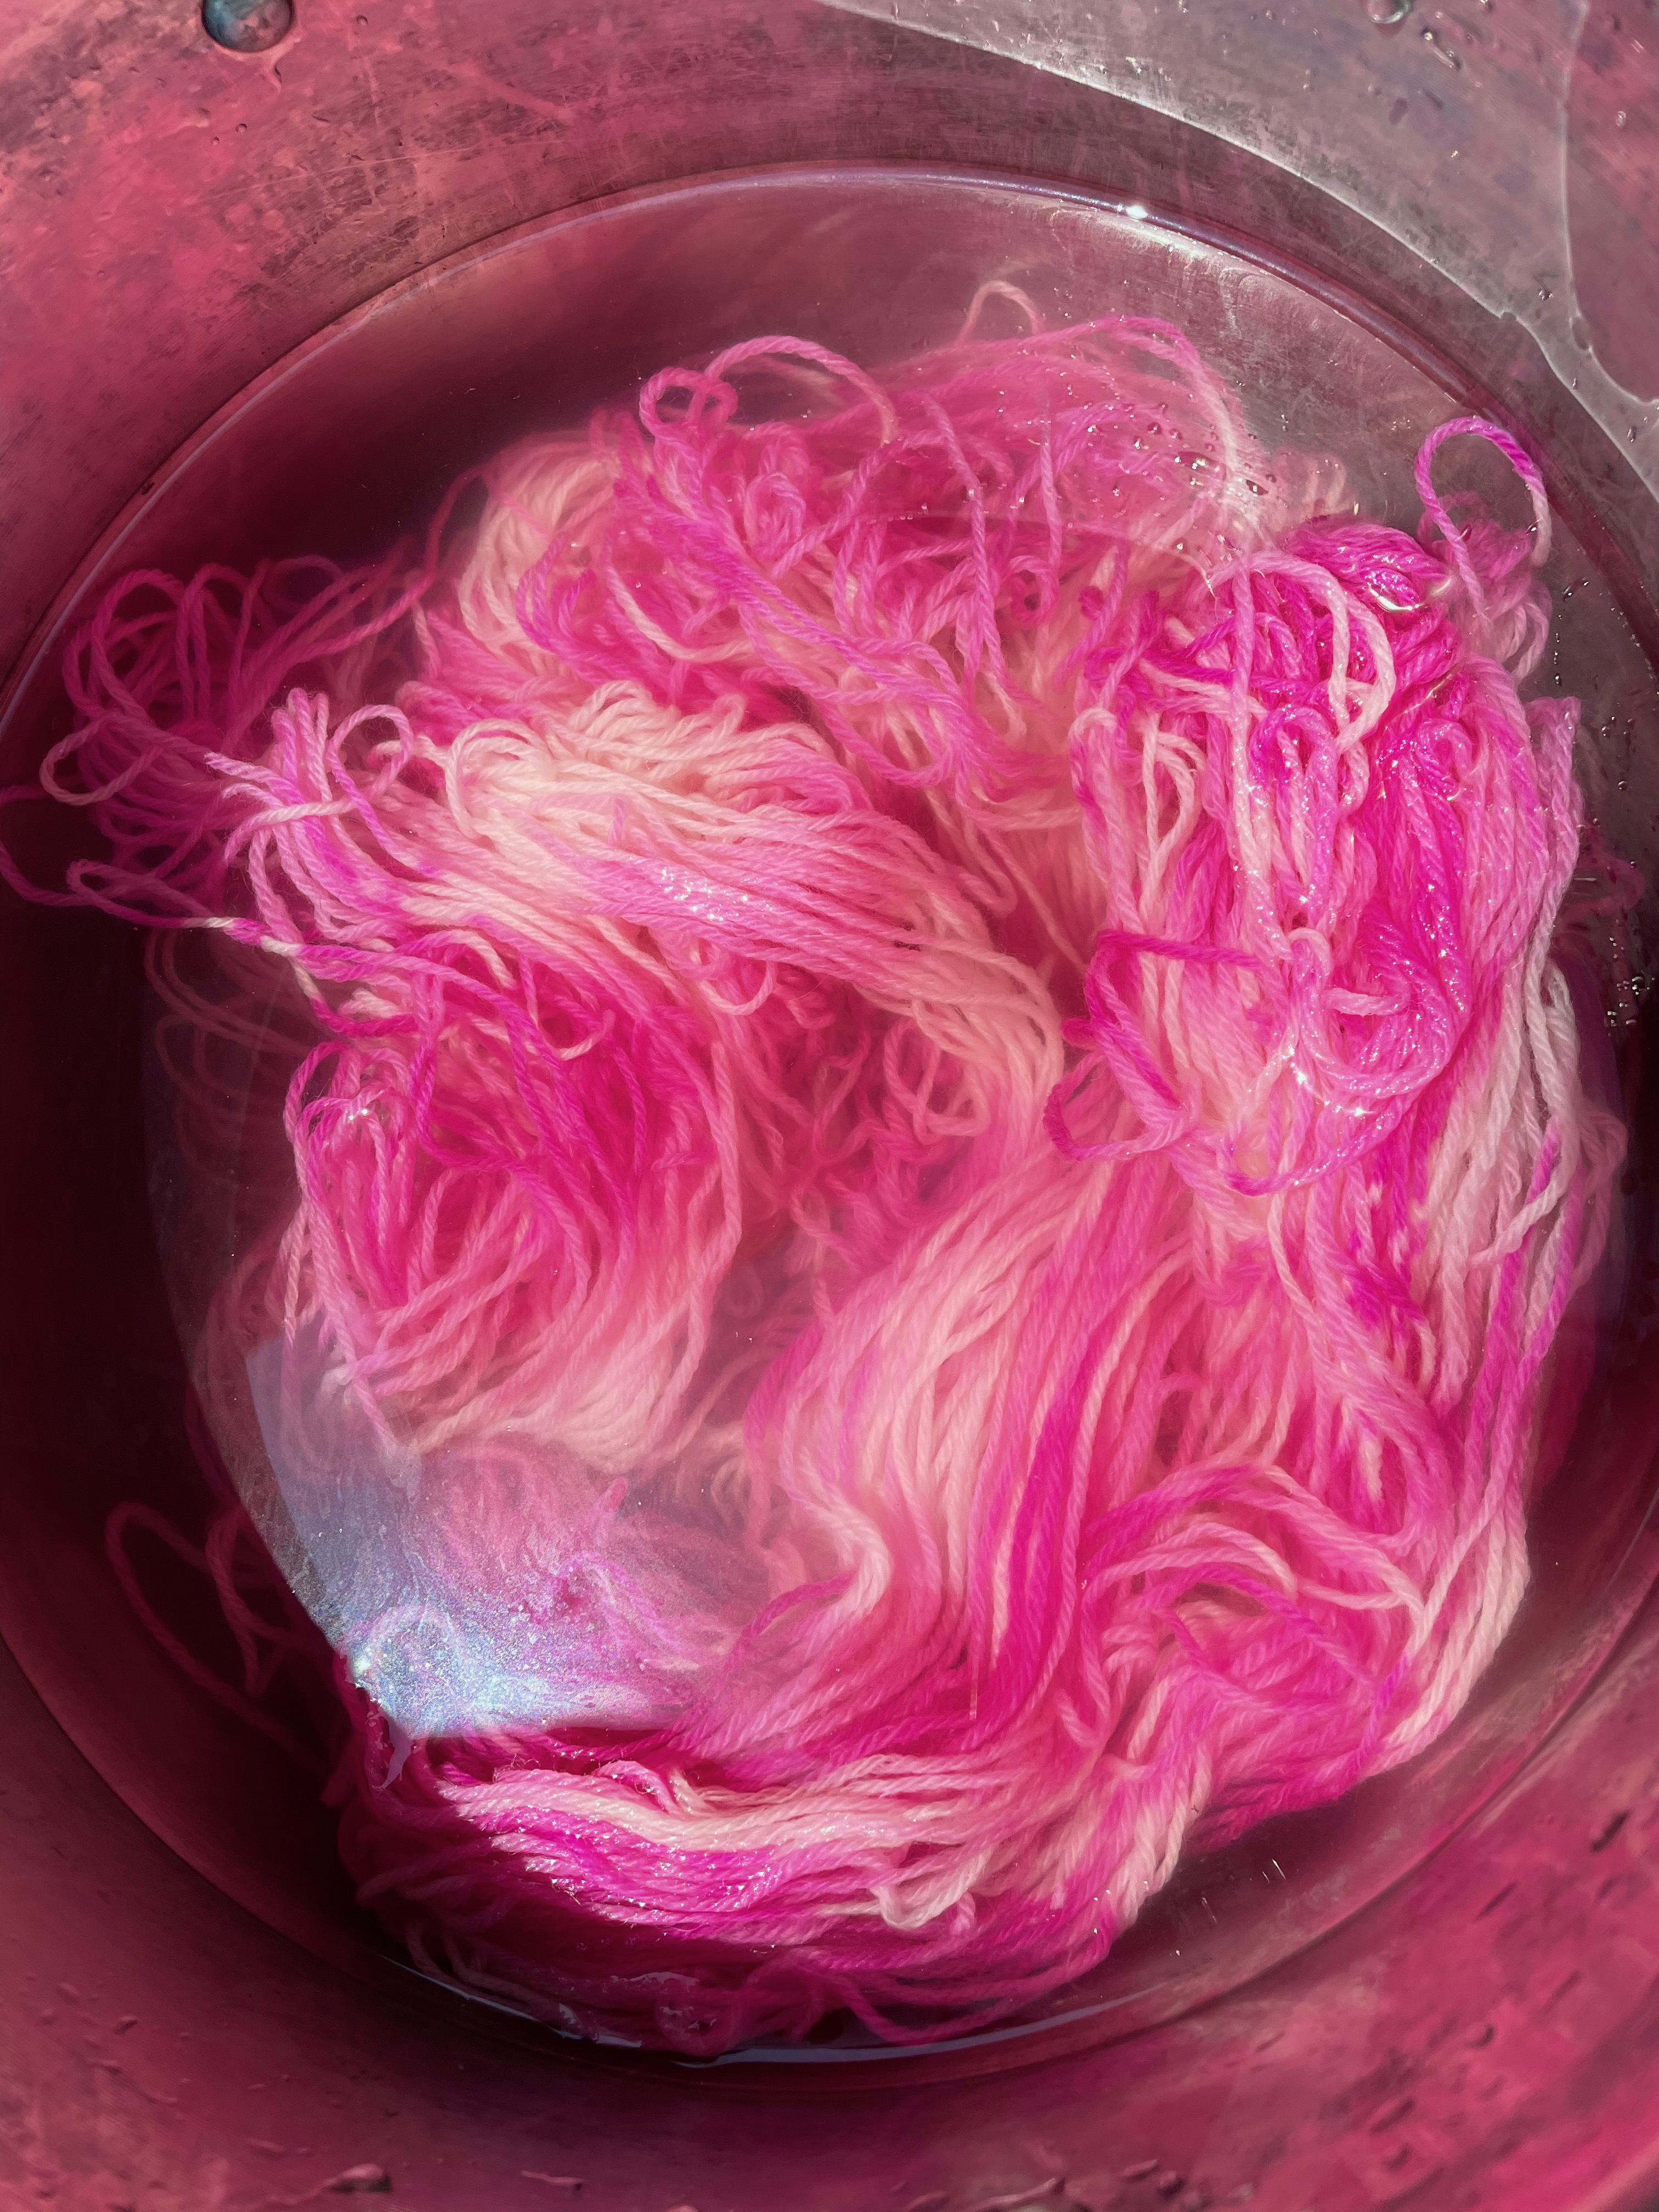
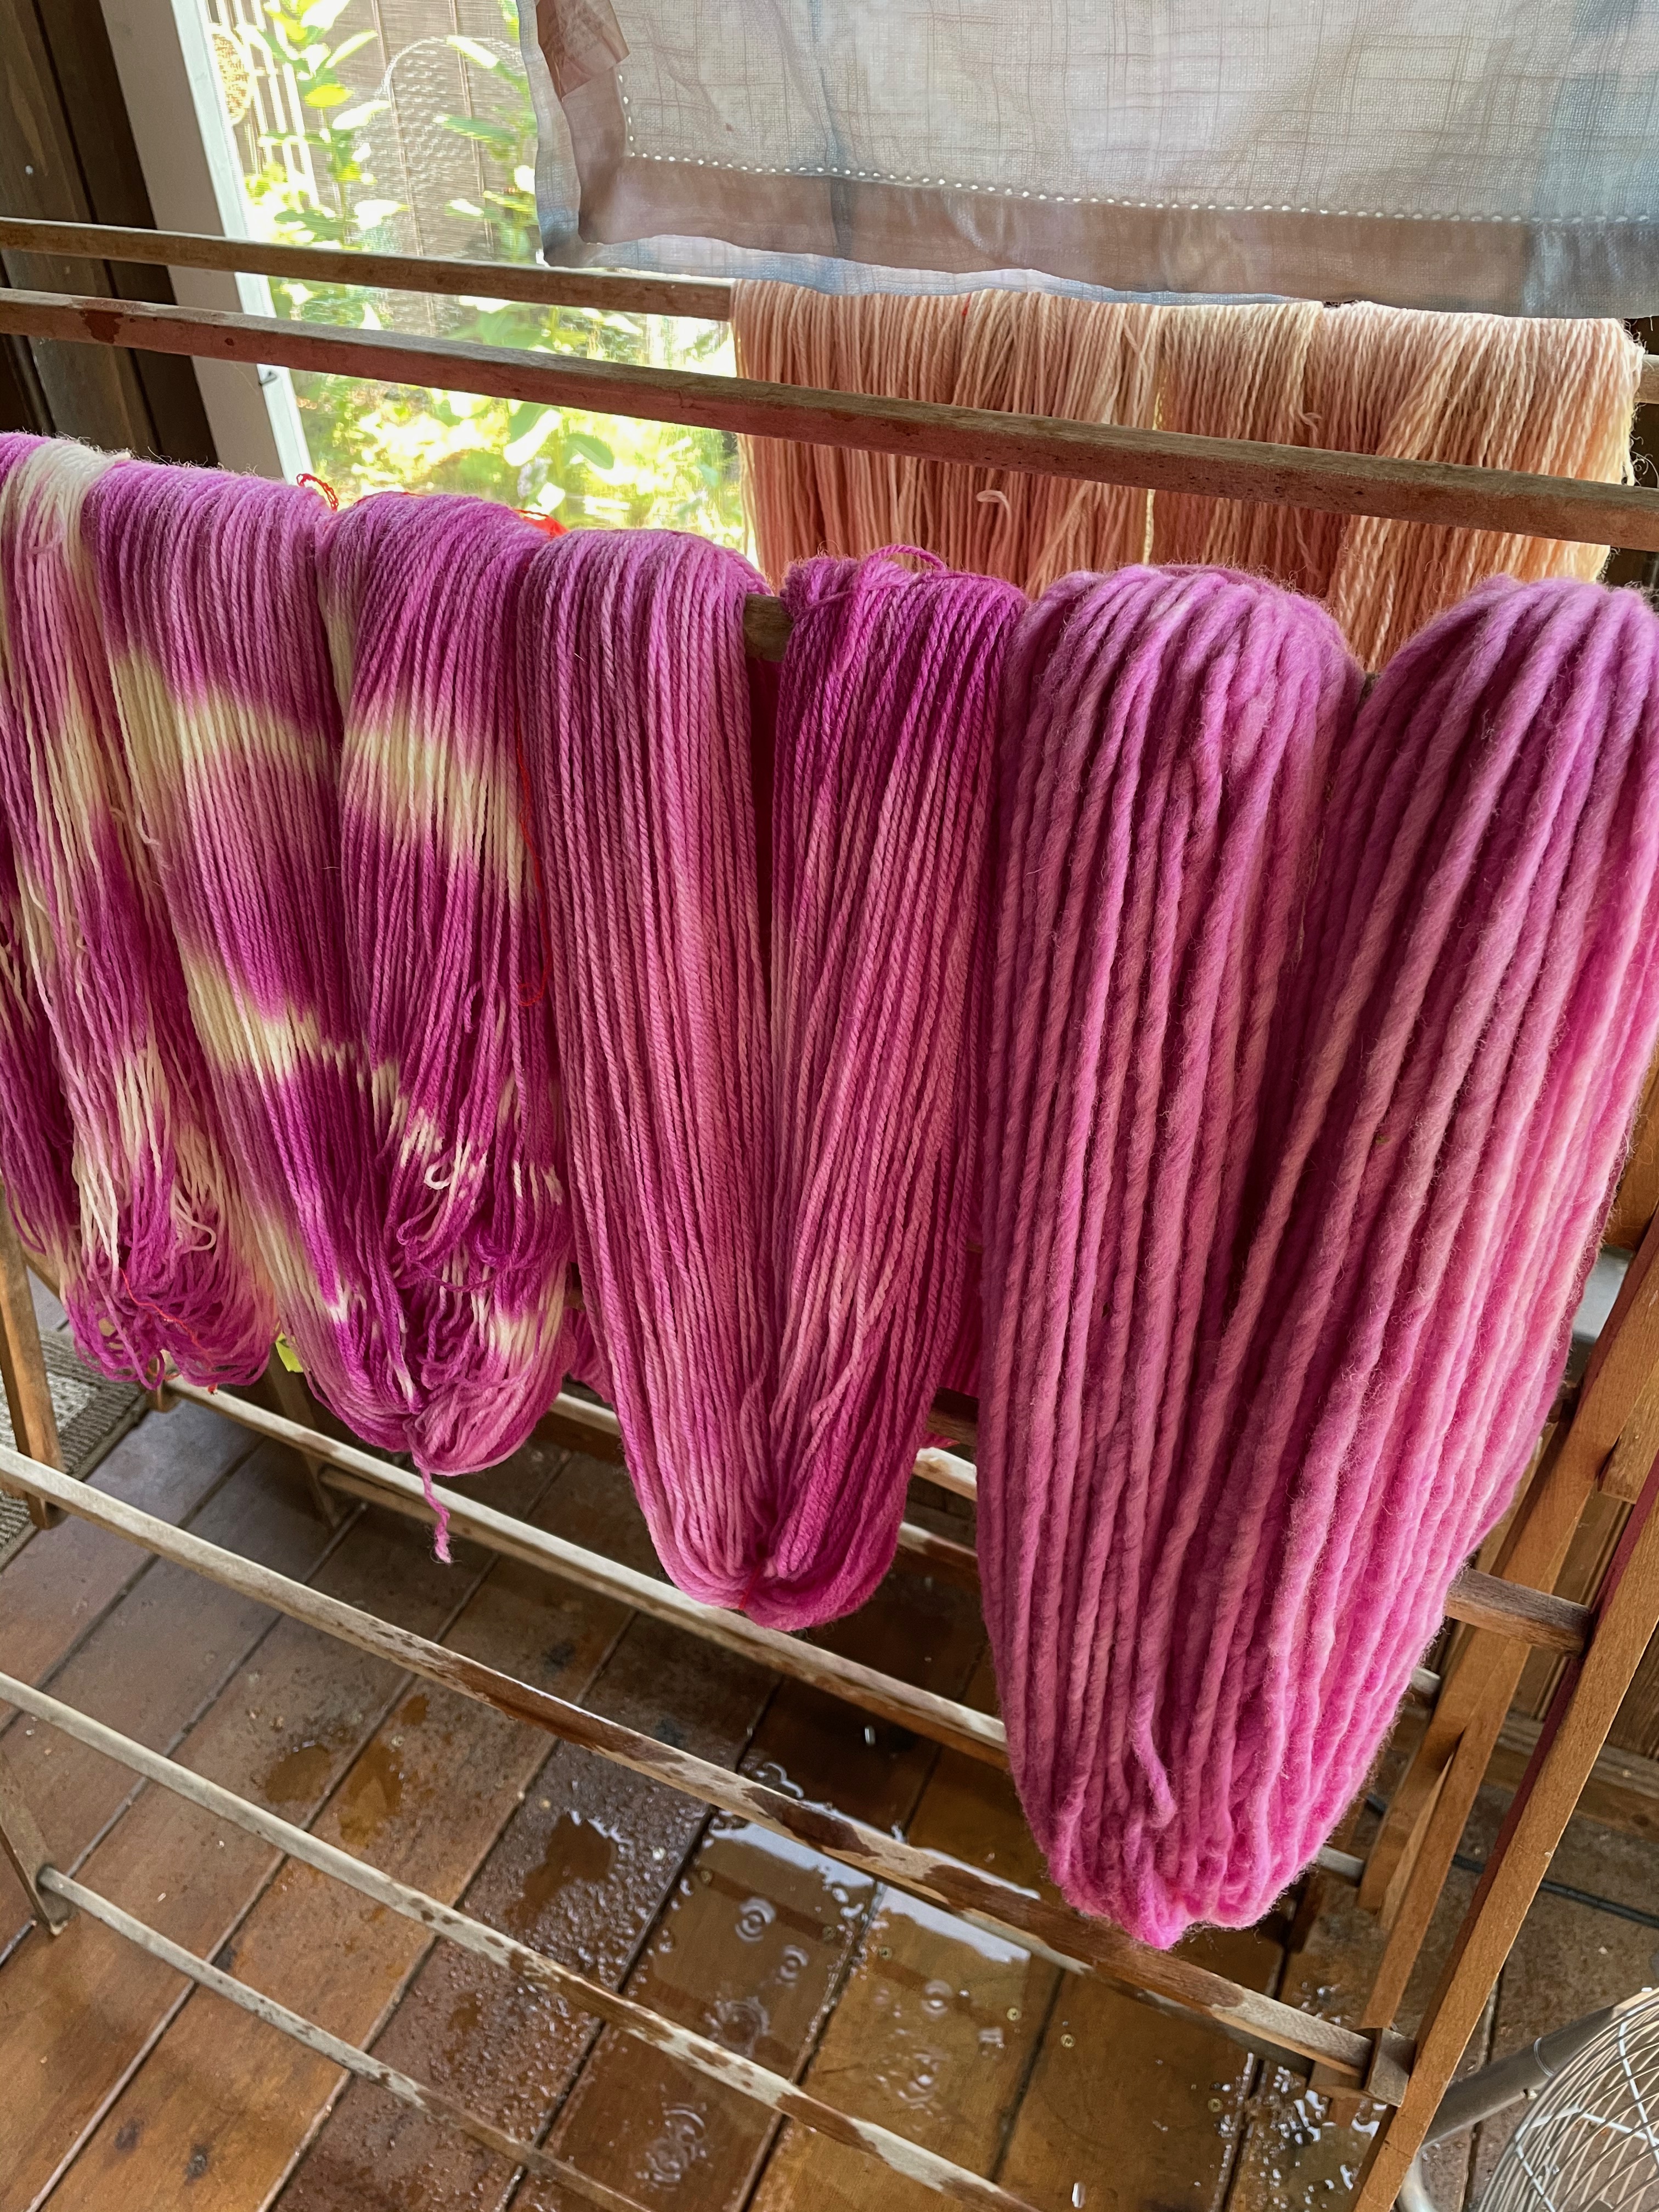

And there you go! Visit my Instagram @Knittyvet for videos of the process or to chat with me about the process. Remember, this dye is a little more sensitive to light, so store somewhere dark, and best use would not be a high light exposure item. One more note – I have occasionally had a batch that faded from pink to tan quickly (as in, during the drying process). I’m not sure what caused this but I suspect the pH was not consistently low enough. Please let me know your experiences and findings with this dye process!!! Together we can learn more 🙂 – Kendra
Resources: Buy Hopi Red Dye Amaranth seeds here.

I read on another blog a person used alum as a mordant. I wonder if that would increase sun resistance.